Blog for Cake Decorators
Tangible Tips for Cake Decorators Creating Reels
Have you been struggling to fit making reels into your already busy schedule? I avoided them forever until I found a way to make them fast, easy and actually reach my audience.
Have you been struggling to fit making reels into your already busy schedule? I avoided them forever until I found a way to make them fast and easy.
Here are my tips for making quick reels that actually reach your audience:
Follow @reelstips and select one of the trending audios. (Trending audios help boost your post to a wider audience.)
Use templates from other creators! Type your audio of choice into the search bar (make sure to click the audio tab after the search). Once you’ve found the audio, search through the posts with that audio for a template that you like and click the “use template” icon at the bottom left. Not every post is a template but there are generally a variety of templates to choose from.
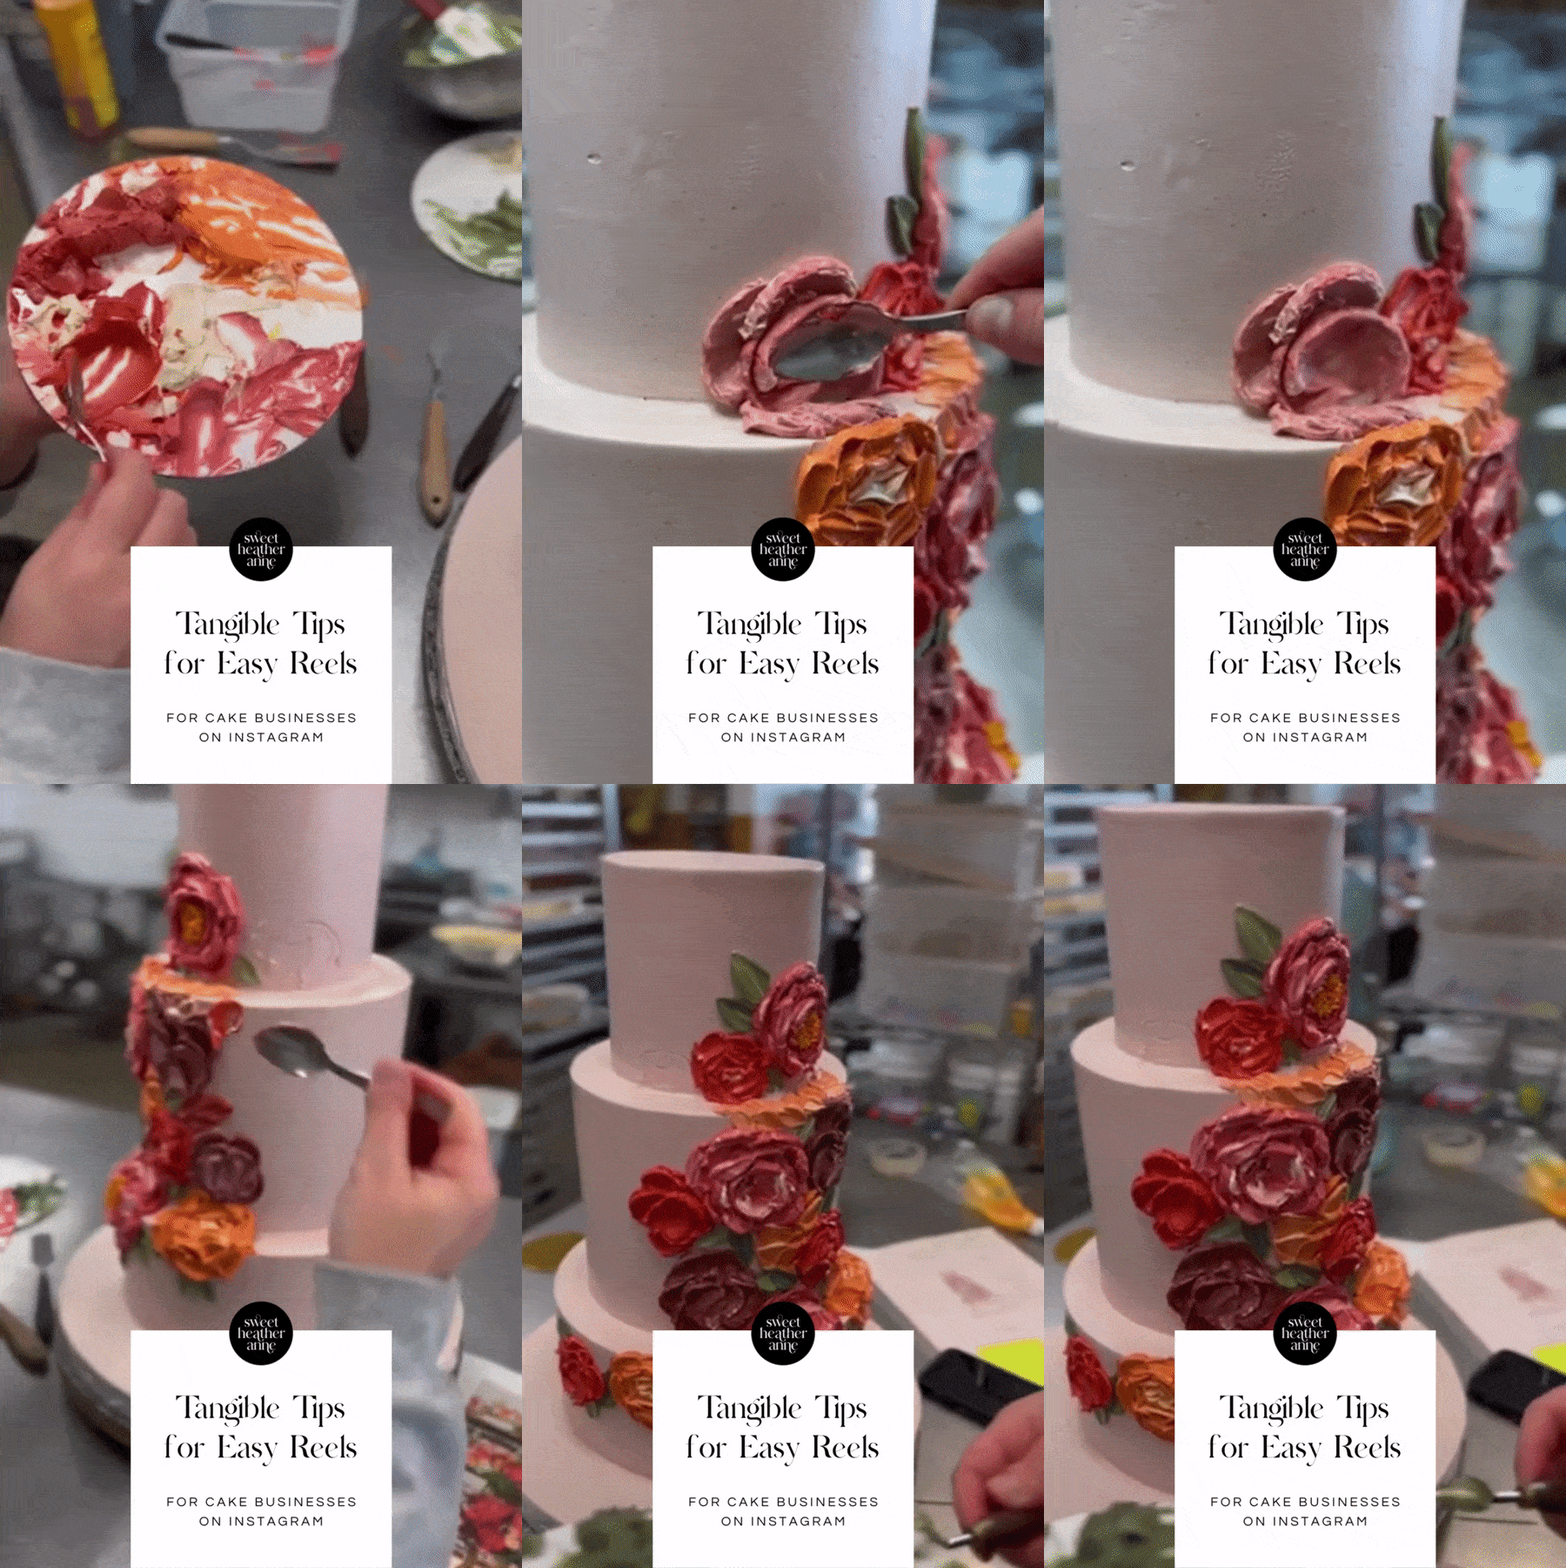
Add videos/photos of your choice into the template. We’ve found that people enjoy seeing process shots so we take videos as we work if we are excited about a design. The cinematic mode on newer phone models helps to block out a busy kitchen background.
That’s it! You can honestly do this in 5 minutes if you have content to work with. I am by no means a reels expert, but I found that having a simple way to make reels means that I can actually find the time to post them.
Check out our latest reels on instagram if you want to see this method at work.
Ready to grow your cake business?
Learn more studio tricks that my team and I use every day in my Online Tutorials. For more tips like this delivered to your inbox, subscribe to The Cake Break, our once-per-month newsletter for cake decorators and artists.
Save this for later on Pinterest
The Key To Smooth Cake Deliveries: Details!
My delivery day necessities have been shaped over years of experience and range from to-go kit packing lists to the questions I ask upon booking. With our delivery details attached, our cake deliveries go smoothly!
Deliveries can be stressful, but having a system in place helps so much! In hopes of providing some inspiration for your own system, I’ve compiled my top delivery tips - and a ready-to-use tool for you!
First off, long before the delivery date I ask a series of questions to set the cake up for success. In my experience, the event planner or venue coordinator often has the best answers.
Questions to ask before delivery:
What is the earliest and latest the cake can arrive?
When will the guests arrive in the space where the cake is set up?
Where will the cake and desserts be placed ?
Will the area be air conditioned (if outdoors, will the area be shaded)?
Who should we contact for any questions on the day of delivery and what is their phone number?
Any special instructions for parking/arrival or unloading?
If they tell you that the cake will be outdoors in an unshaded area - advocate for the cake! People generally don’t want melted cakes and are happy to make changes to the floorplan or delivery timeline to avoid that.
It’s also really helpful to give yourself enough time for each delivery. We like to budget a solid hour for every delivery, and more if we know it’s a complicated set-up.
To ensure my team and I are all working with the relevant information, we fill out this delivery details form. It has saved the day more than once!
You can download a printer-friendly-version OF THE DELIVERY DETAILS form FOR YOUR OWN STUDIO HERE:
But wait, there’s more!
The to-go kit packing list I shared last week can also be customized to your needs to reduce the chances of forget any important items. I recommend using our easy two-part system: Replace anything you used on your previous delivery early in the week, then use the bottom part of the checklist for day-of packing.
Also, if you don’t already have one, get yourself a delivery cart! THIS CART is a life saver for us! It easily folds up to fit in the front seat of any vehicle and can be used for both loading and unloading. I also like to use it as a staging table during set-up. It’s great for laying out fresh flowers so they’re easy to see and even easier to clean up when you’re done. We use non-slip mats on both levels so that things don’t move around.
READY TO GO FURTHER?
Learn more studio tricks that my team and I use every day in my Online Tutorials. For more tips like this delivered to your inbox, subscribe to The Cake Break, our once-per-month newsletter for cake decorators and artists.
Save this for later on Pinterest
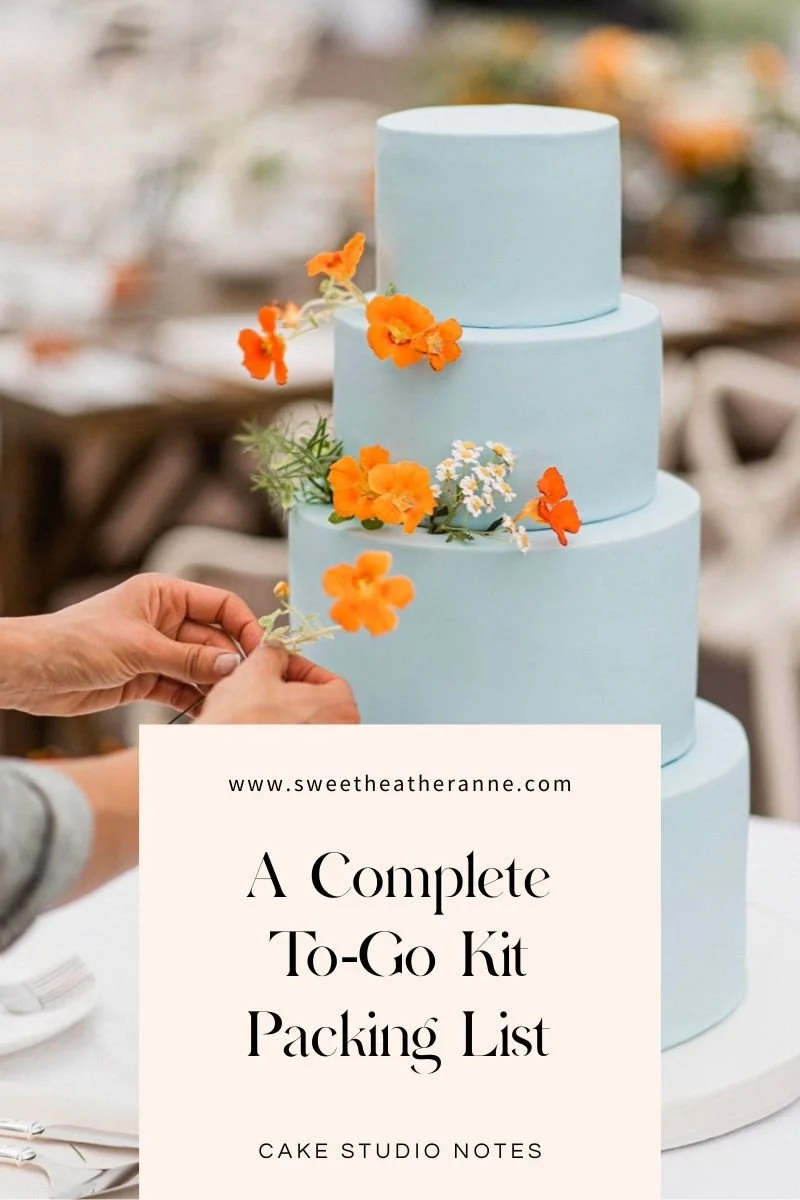
A Cake Decorator's Complete To-Go Kit Packing List
My packing list has been perfected over years of experience and range from cardboard cutouts for leveling tables in a pinch to the exact spatulas I bring along.
With our to-go kit packed, we can keep our calm and cool composure knowing we’re ready for just about anything.
Over the years, we’ve perfected our to-go kit to have everything we need to keep calm and cool when taking an elaborate cake to an event site. We recently wrote down the list so we can be confident that we’re ready for (just about) anything.
The thirty or so items we always bring along range from cardboard cutouts for leveling tables in a pinch to the exact spatulas we default to.
And now you can download our entire list for your own studio!
The list is divided into two parts. I like to restock everything on the first portion of the list early in the week when I have time to think about it. The second part is a short list for day-of packing on the run.
To-Go Kit Packing List
Always Stock
Paper towel
Food safe gloves
Toothpicks
Floral wire: 18 and 20 gauge
Floral sheers
Floral tape: brown and a variety of greens
Business cards
Straight Pins
Hammer
Two 6-inch + two 8-inch cardboard rounds (for leveling cake or table)
Needle nose pliers
Scissors
Masking tape
Piping bags
Pencil
Bulb air duster
Non slip rounds
Level
Floral wire: 18 and 20 gauge
Floral sheers
Floral tape: brown and a variety of greens
Two 6-inch + two 8-inch cardboard rounds (for leveling cake or table)
Paintbrushes (fine tip + large brush for dusting)
Large bun pan covers for rain
Pack Day-Of
Royal Icing(fondant cakes)
Buttercream(buttercream cakes)
Small Offset Spatula
Large Straight Spatula
Anything needed to repair decorations
What about the perfect bag to keep all of the items organized?
We’ve found that gardening bags are a great option with plenty of pockets.
Ready to go further?
Learn more studio tricks that my team and I use every day in my Online Tutorials. For more tips like this delivered to your inbox, subscribe to The Cake Break, our once-per-month newsletter for cake decorators and artists.
Save this for later on Pinterest
The Cake Decorator's Secret to Stress Free Fondant Molds
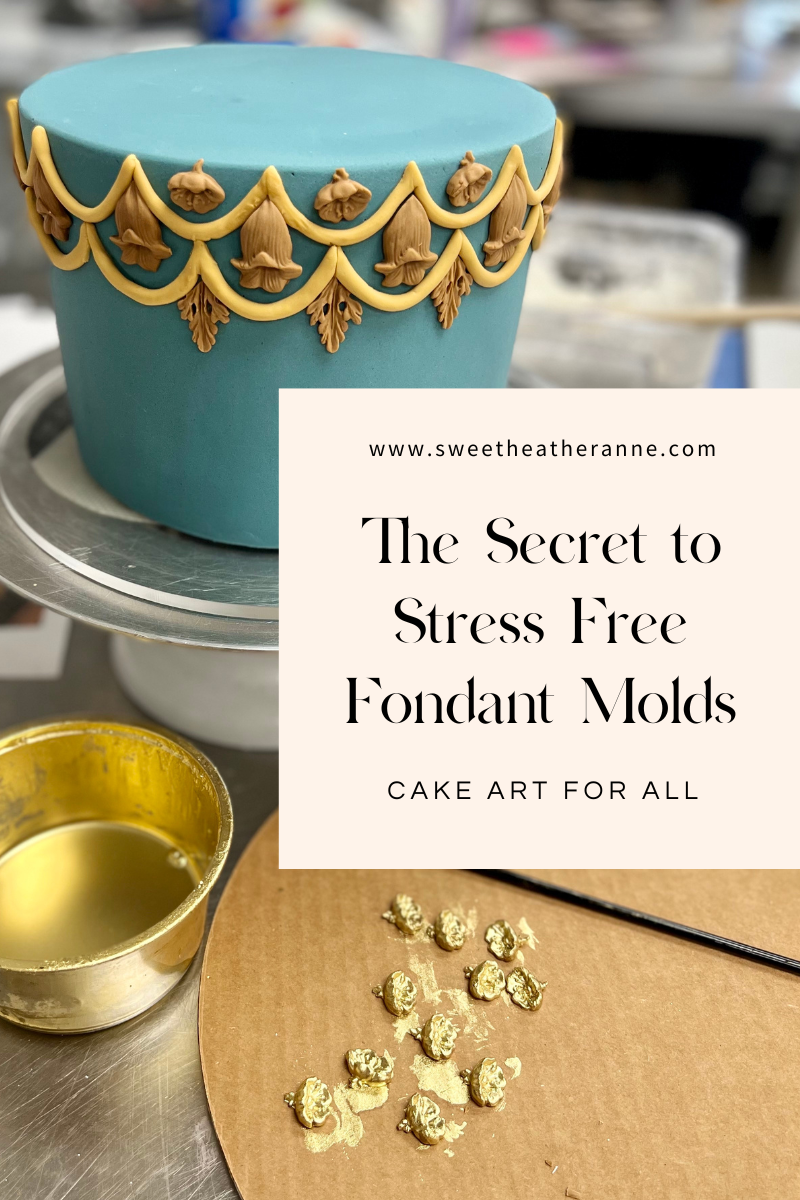
Molded elements have been featured in quite a few of our recent cakes, and luckily we have this efficient and effective trick to using molds. If you’ve sworn off molds because the fondant always sticks and you have to use an exacto knife to clean up the edges, then this month’s tip is for you!
If you’ve sworn off molds because the fondant always sticks and you have to use an exacto knife to clean up the edges, then this month’s tip is for you:
Our secret to stress free molds is a 50/50 mix of fondant and gumpaste.
Molded elements have been featured in quite a few of our recent cakes, and luckily we have this efficient and effective trick to using molds.
50/50, as we call it, is a miracle of a product that doesn’t stick to the molds and can easily be manipulated so that little to no cut out is needed after making the impression - game changer!
I’m including the recipe we use for gumpaste below. To make 50/50, just mix equal parts gumpaste with the fondant of your choice. We use Fondx but I think other brands would work just as well.
Gumpaste Recipe
Ingredients
380g powdered sugar
75g egg whites
19g Tylose (do not use cmc powder - we use Confectionery Arts International brand)
12g shortening
Directions
Mix egg whites and powdered sugar with paddle attachment on slow for about 30 seconds and on medium for about a minute until the mixture turns white.
Add tylose all at once and mix (only takes about 30 seconds, do not overmix or the gumpaste will become tough)
Knead in shortening until paste is smooth and not sticky. Add extra powdered sugar if needed.
Gumpaste is ready to store. Keep wrapped tightly in plastic wrap for up to 3 weeks.
Ready to go further?
Learn more techniques that I use in my cake studio every day in my Online Tutorials. For more tips like this delivered to your inbox, subscribe to The Cake Break, our newsletter for cake decorators and artists.


